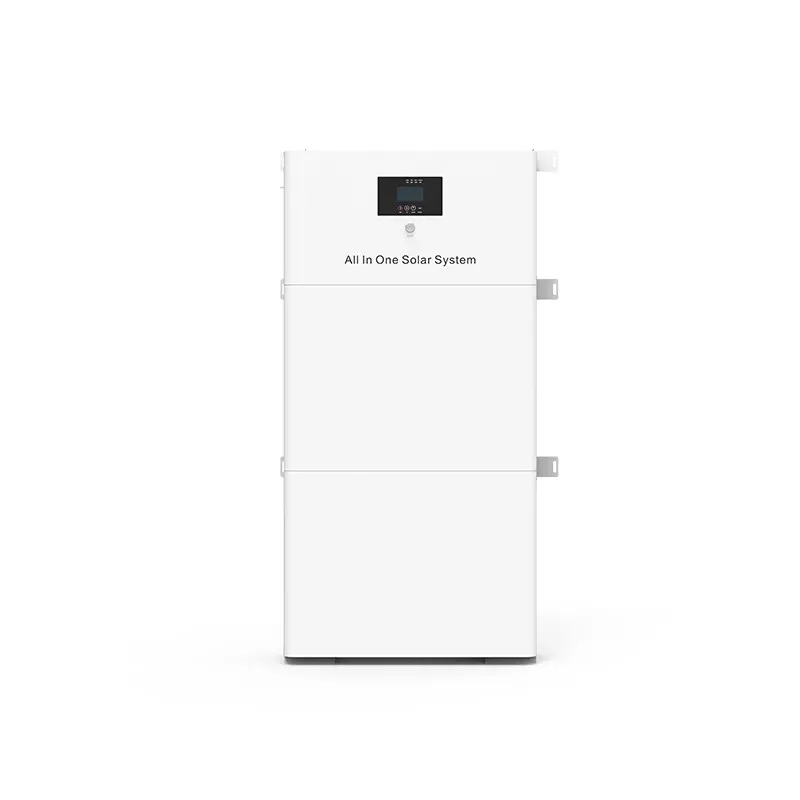
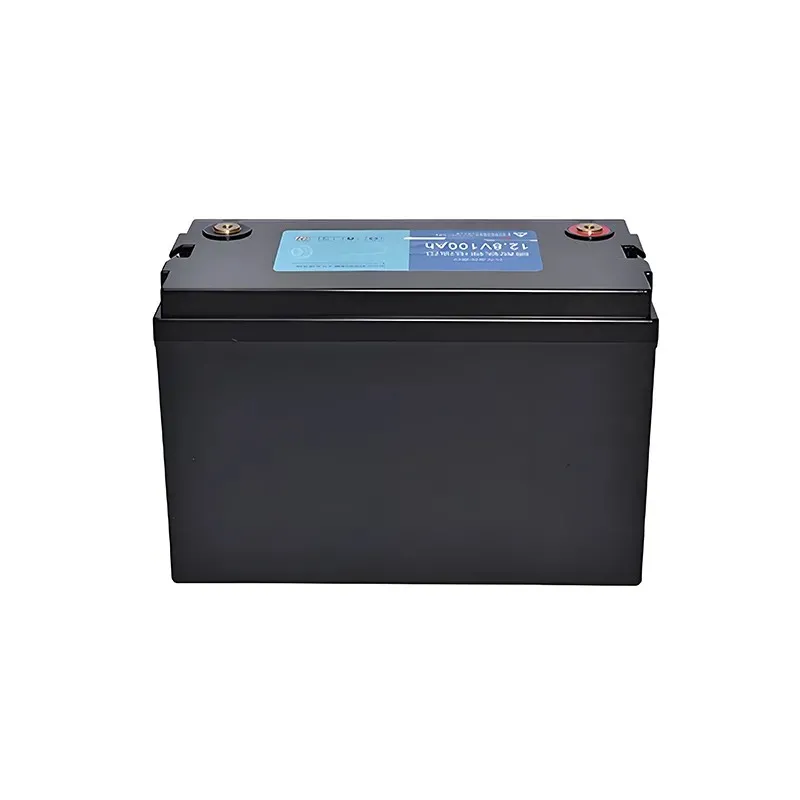
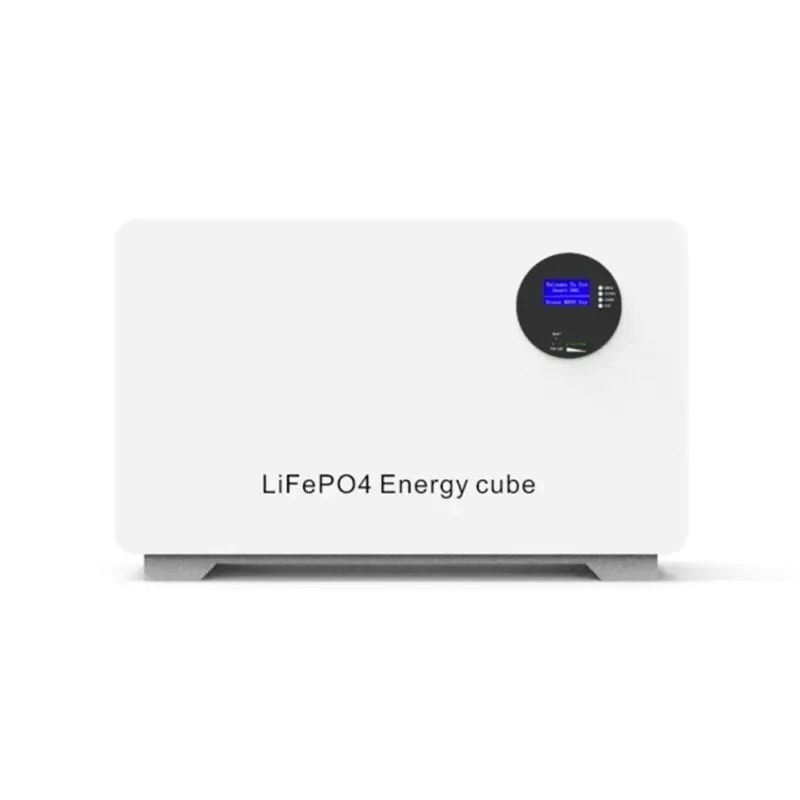
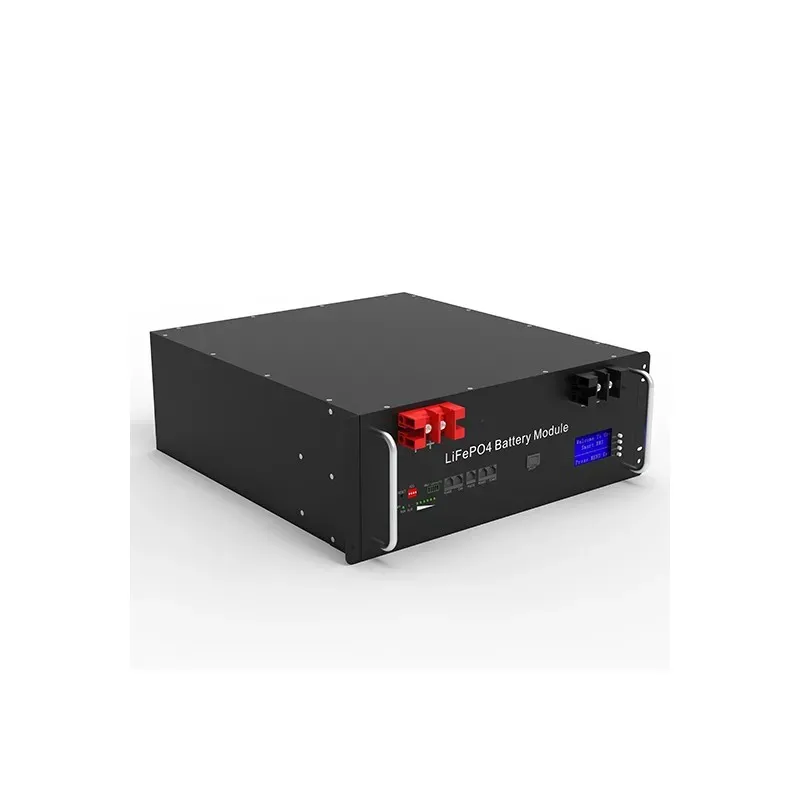
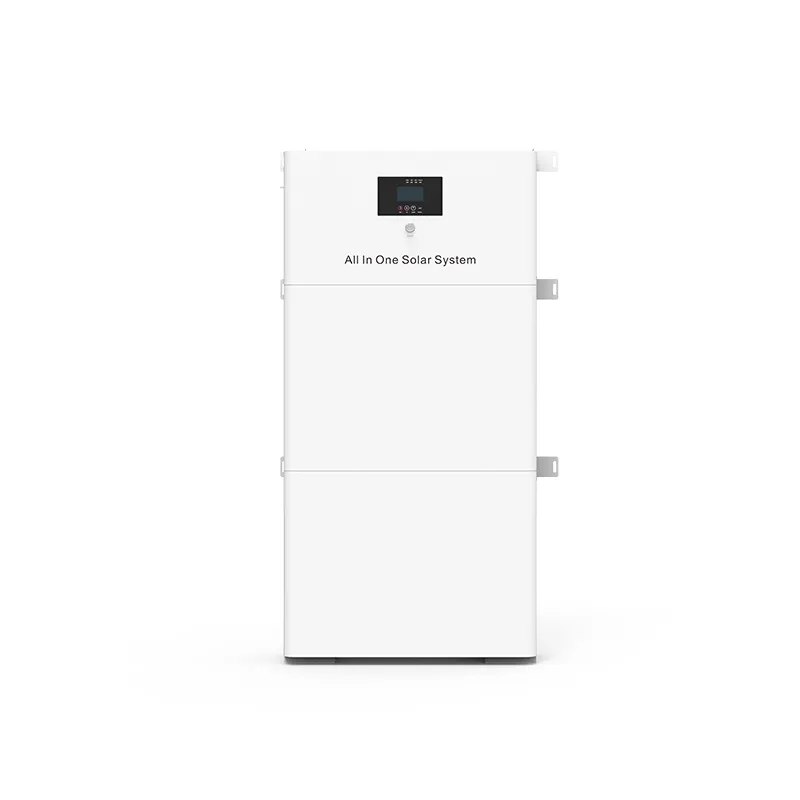
When embarking on a solar installation project, the inverter plays a pivotal role in converting the DC power generated by solar panels into AC power that can be utilized in our homes. ZEMBATT offers an innovative all-in-one inverter solution that simplifies this process. In this guide, I will help you navigate through the complexities of installing the ZEMBATT Inverter, whether you're a novice or an experienced installer. The following steps are designed to ensure your installation is seamless and efficient.
Understanding Your Requirements
Before diving into the installation process, it’s crucial to assess your project needs. Consider the following:
- Energy Consumption: Analyze your daily energy usage to determine the required inverter capacity (measured in kilowatts).
- Solar Panel Specifications: Ensure compatibility between the solar panels and the inverter. For optimal performance, check the inverter's input voltage and current ratings.
- Location Analysis: Evaluate the installation site for sunlight exposure and shading from nearby structures or trees.
Engaging with these preliminary considerations can lay a solid foundation for a successful installation.
Step-by-Step Installation Process
1. Gather Your Tools
Equip yourself with the necessary tools and safety gear. Here’s a streamlined list for your ZEMBATT installation:
- Screwdriver set
- Wire cutters and strippers
- Multimeter
- Safety gloves and goggles
- Ladder (if applicable)
2. Mounting the Inverter
Choose a suitable location for the inverter, ensuring it adheres to the manufacturer’s guidelines regarding ventilation and exposure. Follow these steps:
- Select a Wall: A south-facing wall typically offers optimal access to sunlight.
- Securely Fasten: Use mounting brackets to secure the inverter. Ensure it’s level to avoid mishaps.
- Check Clearances: Maintain a clearance of at least 10 inches from any surrounding objects, as recommended by industry standards like the NEC (National Electric Code).
3. Connecting the Solar Panels
Utilize the following recommendations when connecting your solar panels to the inverter:
- Series vs. Parallel: Decide whether to connect the panels in series (increased voltage) or parallel (increased current). Most installations favor a series connection to maximize efficiency.
- Safety First: Always ensure the panels are shaded or string current is turned off before making connections.
- Label Connections: Clearly label each connection to prevent confusion during maintenance.
4. Wiring to the Electrical System
Now that your panels are connected, it’s time to interface the inverter with your electrical system:
- Use Appropriate Wiring: Ensure wires meet the gauge requirements specified in the ZEMBATT documentation (typically, use THHN/THWN-2 for its durability).
- Grounding: Ground the inverter as outlined in the installation manual to ensure safety.
- Connect AC and DC Disconnects: This ensures that your system can be safely turned off during maintenance, enhancing safety and compliance with ASTM electrical safety standards.
5. System Testing and Commissioning
Once everything is connected, it’s critical to test the system:
- Check Voltage and Current: Use a multimeter to confirm proper voltage and current readings from the inverter.
- Monitoring Setup: Engage ZEMBATT’s monitoring system to track performance metrics and ensure everything operates optimally.
- Documentation: Keep records of the installation parameters for future reference.
Challenges and Solutions
During installation, challenges such as electrical connection errors, incompatibility, or space limitations may arise. Here's how to tackle them effectively:
- Error Codes: If the inverter displays error codes, consult the troubleshooting guide provided in your ZEMBATT manual.
- Compatibility Issues: Verify specifications online or contact technical support to ensure all components are adequately matched.
- Space Constraints: If space is limited, consider alternative mounting locations or rearranging components for optimal access.
Concluding Thoughts
Completing your Inverter all-in-one installation with ZEMBATT not only enhances your energy independence but also contributes to a sustainable future. By systematically following this installation guide, you can navigate the complexities often associated with solar projects confidently. Remember the importance of safety standards and regulations throughout the process.
By implementing these steps, you can achieve a fully functional solar energy system. I encourage you to take these insights to heart and begin your solar project today. Success stories of users who reported a 25% reduction in energy bills post-installation serve as an inspiring testament to the efficacy of the ZEMBATT Inverter. Embrace solar energy with assurance!
For further assistance and tools, visit ZEMBATT to optimize your experience and installation process.